After your lips are well moisturized, give it 20-30 minutes to fully sink in and allow to dry. The longer the better. For those on the go, gently remove any excess balm with soft tissue and wait for a few minutes. It’s good practice to allow the balm to fully dry. This helps condition the lips and keep them hydrated and smooth.

Not necessarily essential but it’s a practice endorsed by makeup artists. But for those spending a long night out and need their lipstick and liner to last longer. then priming your lips is key. Alternatively, concealer and foundation can be used to modify the appearance of your lips if you plan to change the shape, length, and width.
5. Selecting Your Liner Color Preference
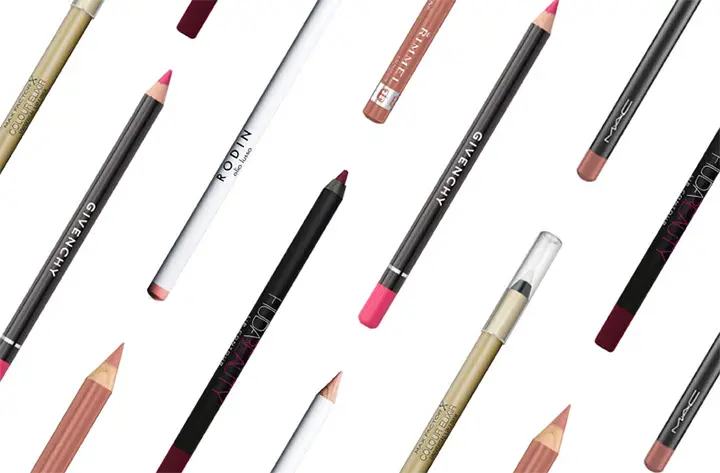
When selecting the color, ensure to bear in mind to match the color against the lipstick you plan on wearing. Red liner matches with red lipstick. A soft pink, nude pink goes well with natural lips.
Purchase a variety of different colors and experiment the effects with different shades of the same. You’ll find softer shades have a muting effect on bolder colors and vice versa.
6. Sharpen Your Lip Liner
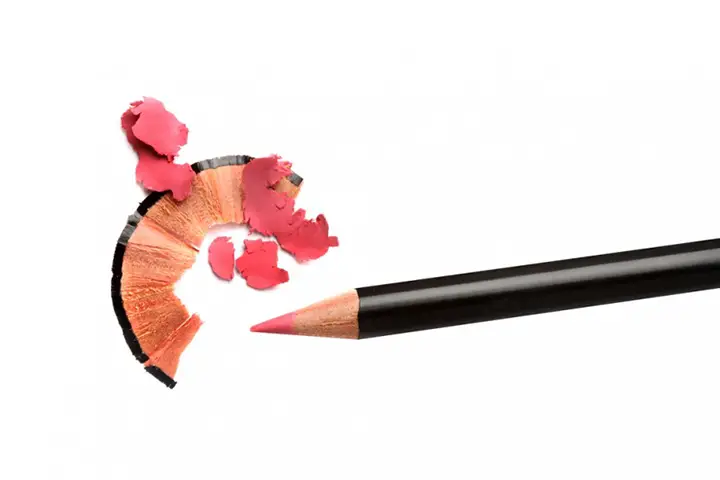
This can be done with a regular pencil sharpener or knife in case the latter is unavailable. A well-sharpened liner will draw out a precise, clean, thin line while a dulled line creates a thicker outline.
A good trick you can do is to freeze the liner in a freezer for a few minutes. What this does is it solidifies the nib. It prevents it from snapping easily giving you a stronger nib and a much cleaner outline.
7. Test the Liner Before Use
open next page to continue reading….


